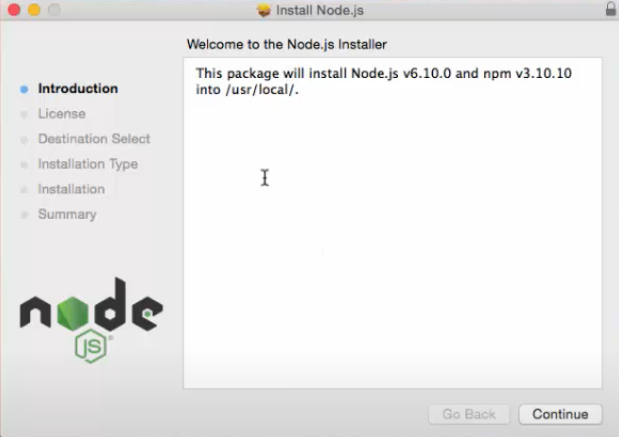
To install Node.js on a Mac, you can follow these steps:
1. Install Homebrew (if not already installed):
Homebrew is a package manager for macOS that makes it easy to install software packages.
Open Terminal on your Mac. You can find Terminal in the "Utilities" folder within the "Applications" folder, or you can use Spotlight Search (Cmd + Space) and type "Terminal".
Once Terminal is open, paste the following command and press Enter:
*/bin/bash -c "$(curl -fsSL https://raw.githubusercontent.com/Homebrew/install/HEAD/install.sh)"*
Install Node.js using Homebrew:
Once Homebrew is installed, you can use it to install Node.js.
2.Run the following command in Terminal to install Node.js:
brew install node
Verify Node.js and npm installation:
After the installation is complete, you can verify that Node.js and npm (Node Package Manager) are installed correctly by running the following commands in Terminal:
node -v
npm -v
These commands should print the installed versions of Node.js and npm respectively.
That's it! Node.js should now be installed on your Mac. You can start using it to run JavaScript applications and install packages using npm.
Installation of Nodejs on Mac
