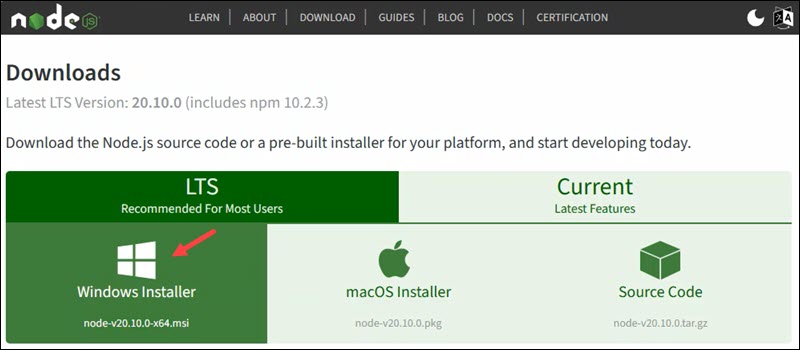
To install Node.js on Windows, you can follow these steps:
1. Download Node.js Installer: Visit the official Node.js website at https://nodejs.org/en/ and download the Windows Installer (.msi) for the LTS (Long-Term Support) version or the current version, depending on your preference and requirements.
2. Run the Installer: Once the installer is downloaded, double-click on the downloaded file to run it.
3. Setup Wizard: The Node.js Setup Wizard will guide you through the installation process. Click "Next" to proceed.
4. License Agreement: Read the license agreement and click "Next" if you agree to the terms.
5. Choose Destination Location: Select the destination folder where Node.js will be installed. The default location is usually fine, but you can choose a different location if needed. Click "Next" to continue.
6. Select Components: Choose the components you want to install. Typically, you'll want to include the "Node.js runtime" and "npm package manager". Click "Next" to proceed.
7. Start Menu Folder: Choose the Start Menu folder where shortcuts for Node.js will be created. Click "Next" to continue.
8. Install: Click "Install" to begin the installation process.
9. Complete the Installation: Once the installation is complete, click "Finish" to exit the setup wizard.
10. Verify Installation: To verify that Node.js is installed correctly, open Command Prompt (or PowerShell) and type the following command:
node -v
This command will display the version of Node.js installed. Additionally, you can check the version of npm (Node Package Manager) by typing:
npm -v
Both commands should display the respective version numbers if Node.js and npm were installed successfully.
That's it! Node.js is now installed on your Windows system, and you can start using it to develop applications.
Installation of Node JS on Windows
